 klad
Drawing pixel art
Draw sprites and tiles on a grid where one pixel is one pixel, in the colours of a palette. Animate them, and export them sharp.
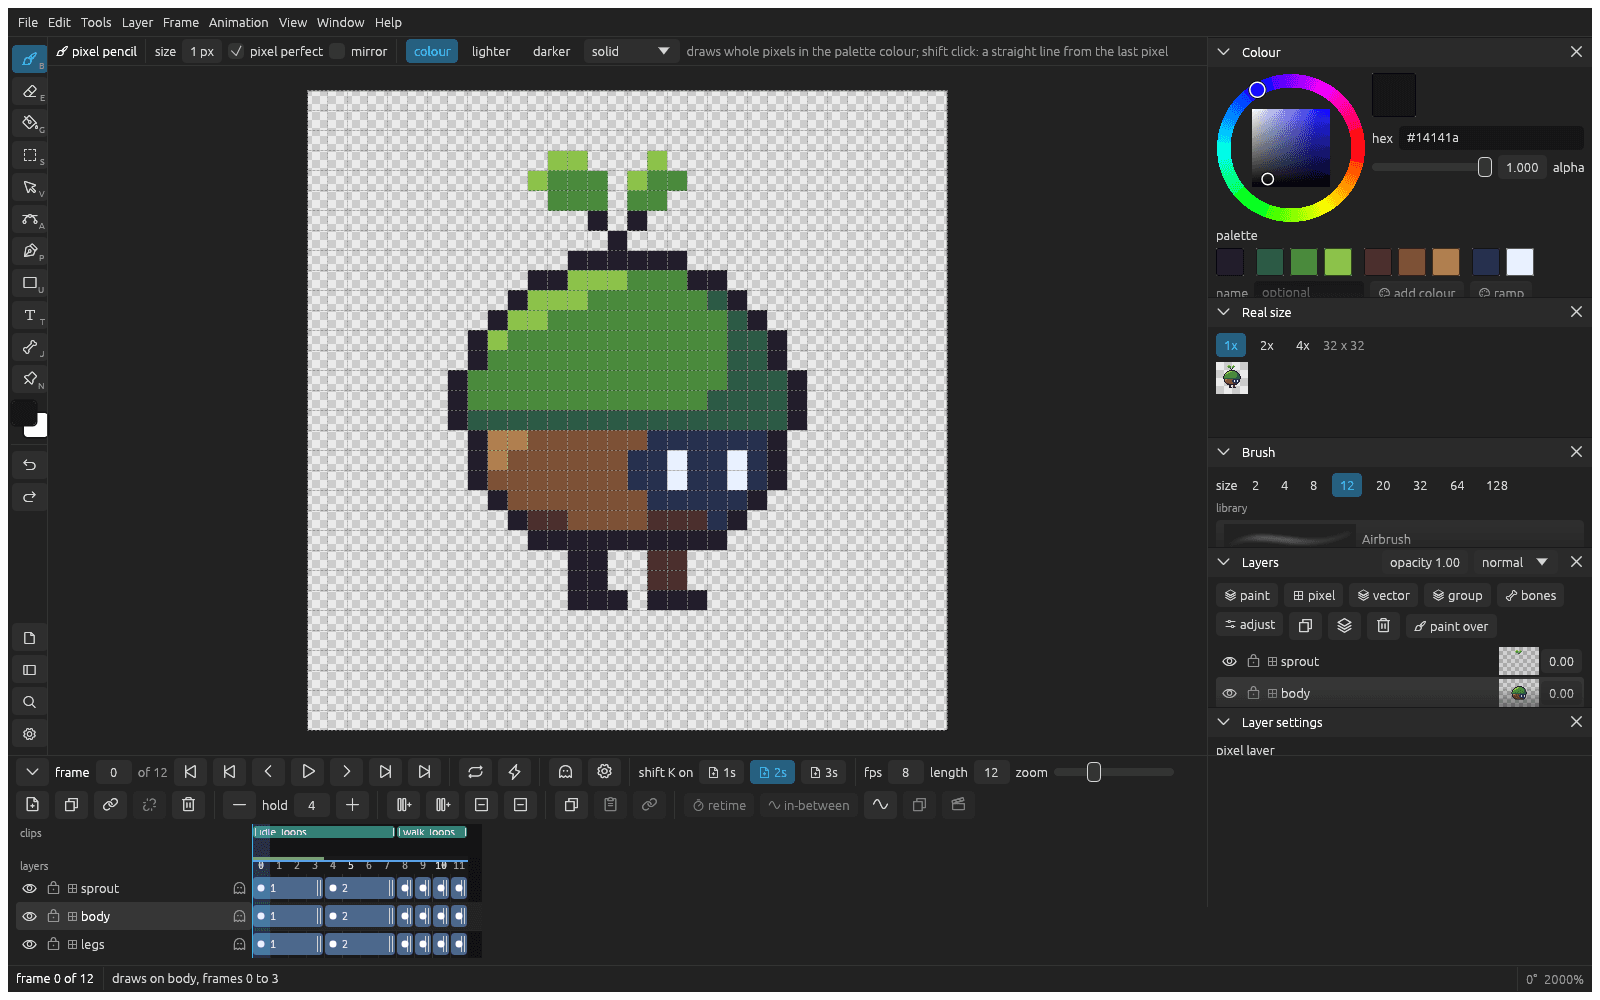
Start a pixel drawing
- In the start window, select Pixel art and choose a size, such as 32 x 32.
- Click Create. The drawing opens enlarged, with a grid between the pixels, and the Real size panel shows it at the size it really is.
To carry on with a sprite from Aseprite, click Choose an Aseprite file... in the start window instead. It opens as a new klad drawing next to the file, with its layers, frames, palette and tags.
Draw and erase
- Press B and draw. Each pixel takes the current colour, and the colour joins the palette.
- Shift click to draw a straight line from the last pixel.
- Press E and drag to clear pixels.
- Press G and click inside a shape to fill it, or U to drag a rectangle, an ellipse or a line.
To change a colour everywhere, click it in the palette, change the colour, and click update. To start from a ready palette, click palettes.
Draw both sides at once
In the pencil's options, turn on mirror. The pencil, the shapes and the fill now draw each pixel's twin across an upright line. Drag at x to move the line.
Move or change part of a sprite
- Press S and drag a box around the pixels.
- Drag them to move them, or use the bar under them to flip, turn, recolour, copy or delete them.
Shade along a ramp
- Click a palette colour and click ramp. Five steps of it join the palette, dark to light.
- Draw a shape with the middle step.
- In the pencil's options, select darker or lighter and go over the pixels: each one moves a step along its ramp.
Make a second colouring
- In the Colour panel, click new variant. The drawing now shows the variant.
- Click a palette colour, change it, and click update. Only the variant changes.
- Under the palette, click base to see the first colours again.
To export one file for each, see palette variants.
Animate a sprite
- Right click the drawing's cell in the timeline and pick duplicate to the next frame.
- Press O for onion skin, and change the pixels that move.
- Press = to hold a drawing a frame longer.
- Press Return to play, and again to stop.
Every frame is a drawing of its own: in-betweens and bones don't work on pixel layers. For clips and timing, see Animating frame by frame.
Turn a picture into pixels
- Select File > Pixels of a picture….
- Pick a picture file, this layer or the whole picture.
- Set longest side px, such as 64. Leave colours at 0 to use the palette's colours.
- Click make pixels.
A picture file lands on the pixel layer you are on. The other two make a new pixel drawing and leave this one as it is.
Check your pixels
Select Layer > Check the pixels. klad puts a box around what stands out: a single pixel outside the shape or in a flat area, a doubled corner in a line, a jagged line, banding, and a colour outside the palette. Small ones that are likely details are counted in the message, not boxed. The boxes follow your edits; select it again to turn it off.
Make a tile or a tileset
- For one tile that repeats, select View > Tile: wrap at the edges. What you draw past an edge comes back in on the other side.
- For a set of tiles, select View > Tileset: cut into tiles…, enter the tile size, and click cut into tiles. The canvas shows the tile lines.
Export it sharp
- Press cmd E.
- Pick image, GIF, sprite sheet or Aseprite.
- Set times real size to a whole number, such as 8, and click export.
A tileset goes to Godot with as a tile set in the same window.
Working with an agent? Give it klad skill and klad skill pixel: With an agent.
From docs/guide/pixel-art.md in klad at v0.2.0 (3f41735).